I remember the day I found out cardboard boxes could be stylish storage bins. It was a moment that started a creative journey. It turned mess into a neat collection.
Upcycling cardboard helps declutter and adds a personal touch to your home. It’s a fun way to get creative and organized. It’s ideal for anyone wanting to make their space look new.
Key Takeaways
- Create functional storage with readily available materials
- Add a personal touch to your home decor through DIY projects
- Reduce waste by upcycling cardboard boxes
- Enhance your space with stylish and eco-friendly storage solutions
- Explore your creativity through simple, fun projects
Why Cardboard Boxes are Great for Storage
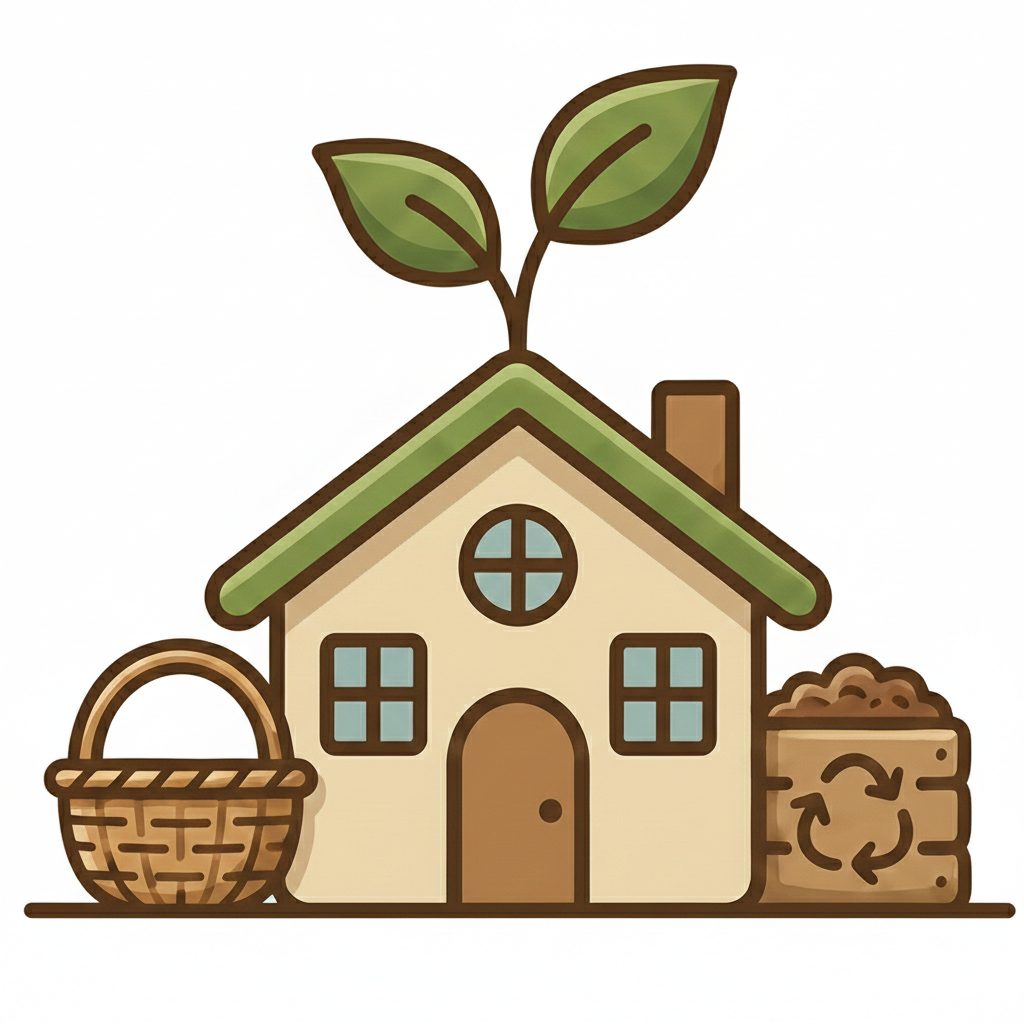
Repurposing cardboard boxes is a simple yet effective way to get stylish storage. They offer many benefits, like being eco-friendly and cost-effective. This makes them a great choice for many.
Eco-friendly benefits are a big plus. “Reducing, Reusing, Recycling” is more than a slogan; it’s a lifestyle choice. By repurposing cardboard boxes, we reduce waste and save resources. The Environmental Protection Agency (EPA) says recycling one ton of cardboard saves a lot of trees, water, and electricity.
Eco-Friendly Benefits of Repurposing Cardboard
Using cardboard boxes for storage is good for the environment. It reduces waste and supports sustainability. By giving old cardboard boxes a new life, we declutter our homes and help the planet. The EPA says recycling and reusing materials like cardboard are key to reducing our ecological footprint.
Versatility in Size and Shape
Cardboard boxes come in many sizes and shapes, making them versatile for different storage needs. They can fit into various spaces, from closets to living rooms. You can store toys, clothes, kitchen utensils, and more in them. Their versatility makes them perfect for solving storage challenges.
Cost-Effective Solution for Organizing
One of the best things about using cardboard boxes for storage is how cost-effective they are. Most people already have them at home, from online purchases or moves. By repurposing these boxes, you save money that would be spent on storage bins. This approach is good for your wallet and the planet.
In conclusion, cardboard boxes are excellent for storage because they’re eco-friendly, versatile, and cost-effective. By repurposing cardboard boxes, you’re making a choice that benefits your home and the environment.
Materials Needed for Stylish Storage Bins
Starting to make cardboard boxes into stylish storage bins is easy. You just need to gather the right materials. You’ll need basic crafting supplies and some decorative items.
Essential Supplies to Gather
First, you’ll need some basic supplies. These include:
- Scissors for cutting the cardboard to the right size.
- Glue or a hot glue gun for assembling and reinforcing the boxes.
- Decorative materials such as paint, markers, or fabric to give your bins a personalized touch.
- Tape for securing edges or holding materials in place while they dry.
Creative Add-Ons to Consider
To make your storage bins even better, think about adding some creative touches. You can use:
- Ribbons or twine for a rustic or homespun look.
- Labels or stickers for labeling the contents of your bins.
- Decorative paper or washi tape for adding patterns or designs.
- Other embellishments like buttons, bows, or other craft supplies to match your home decor.
By mixing these basic supplies with creative add-ons, you can transform simple cardboard boxes. They become stylish organization ideas that improve your home’s look and keep things organized.
Preparing the Cardboard Boxes for Transformation
The first step in making unique storage solutions is preparing your cardboard boxes. This is key because it sets the stage for a strong and fashionable storage bin.
Cleaning and Cutting the Boxes
I start by cleaning the cardboard boxes well to get rid of dirt or debris. This makes the surface ready for decoration and keeps the storage bin quality high.
- Use a damp cloth to wipe down the boxes.
- Let the boxes dry completely before moving on.
Then, I cut the boxes to the right size using a craft knife or scissors. Precision is key to make sure the edges are even and the size fits your storage needs.
Reinforcing the Structure for Durability
To make the cardboard boxes last longer, I add extra strength. I use glue or tape at the edges and corners to do this.
- Apply glue or tape along the edges and corners.
- Press the edges firmly to make sure they stick well.
- Wait for the glue or tape to dry before touching the boxes.
By adding this extra strength, my storage bins are not just stylish. They are also strong and can hold a lot of weight.
Designing My Stylish Storage Bins
To make stylish storage bins, I pick a theme or color that matches my decor. This first step is key to the whole project.
Choosing a Theme or Color Palette
I think about the room for my storage bins. For a nursery, I might pick soft colors or fun patterns. For a modern living room, I choose simple or bold colors.
For ideas, I check out Lovely ETC. They have lots of creative storage ideas. By picking a theme that fits my style, my bins are both useful and pretty.
| Theme | Color Palette | Decorating Ideas |
|---|---|---|
| Modern | Monochromatic, Bold Accents | Geometric patterns, metallic paint |
| Whimsical | Pastel colors, Bright hues | Decoupage, fabric wrapping |
| Rustic | Earth tones, Natural hues | Twine wrapping, natural dye |
Decorating Techniques: Paint, Fabric, and More
After picking my theme, I look into decorating methods. Painting is a favorite because it lets me use many colors and finishes. I can choose a smooth look or something textured.
Fabric wrapping is another great way. I wrap fabric around the bin and glue it in place. This adds color and texture, making the bin interesting to touch.

Other ways to decorate include decoupage and adding embellishments like ribbons or buttons. The most important thing is to have fun and be creative. This way, a simple cardboard box becomes a unique piece that shows off my style.
Step-by-Step Instructions for Creating the Bins
Now that we have our materials ready, let’s start making stylish storage bins from cardboard boxes. This process is easy and requires basic crafting skills.
Basic Assembly Process
To begin, we clean and cut the cardboard boxes. Then, we reinforce their structure by applying glue to the edges and corners. This makes them more durable.
- Cut the cardboard boxes to the desired size.
- Reinforce the edges with glue or tape.
- Assemble the boxes into the desired shape.
Tips for Ensuring a Professional Finish
A professional finish is key to making our storage bins stylish. We focus on details like even paint coats and precise cuts.
Key Tips:
| Tip | Description |
|---|---|
| Apply even coats of paint | For a smooth finish, apply thin, even paint coats. Let each coat dry before adding the next. |
| Use precise cutting techniques | Use a sharp utility knife or scissors for clean, accurate cuts. |
| Secure all edges | Glue or tape all edges and corners to make the structure sturdy. |
By following these steps and tips, we can make stylish storage bins. They are both useful and look great. Upcycling cardboard boxes helps us organize and reduces waste.
When we finish our storage bins, we should be proud. We’ve made something useful and eco-friendly. The result shows the power of upcycling and DIY crafting.
Adding Functional Features to My Storage Bins
I found that adding a few features made my storage bins much better. I wanted them to be both stylish and practical.
One easy way to improve them was by incorporating labels. Labels help you know what’s in each bin quickly. This saves time and keeps things tidy.
Incorporating Labels for Easy Identification
I used a label maker to make clear tags. I stuck these labels on the bins so you can see them easily. This small change made a big difference in keeping my space organized.
I also tried color-coded labels to sort items. For example, red for documents, blue for crafts, and green for toys. This made things even more organized and looked nice too.
Creating Dividers for Better Organization
I also added dividers to sort items inside the bins. Dividers keep similar things together and stop bins from getting messy.
To make dividers, I used cardboard or small boxes. For instance, in a craft bin, I separated beads, threads, and other stuff. This made it easy to find what I needed without digging through everything.

With these features, my storage bins became key to my home’s organization. Turning cardboard boxes into useful bins was good for the planet and very satisfying.
Using My Stylish Storage Bins Around the House
My stylish storage bins are not just useful; they also enhance any room. I’ve found many ways to use them in my home decor. After turning cardboard boxes into these unique solutions, they’ve become a big part of my space.
Ideal Spaces for Storage Bins
Storage bins are very versatile and can fit in many places around the house. They work best in areas that need to be organized and stylish.
- Closets: Adding storage bins to closets helps keep clothes, shoes, and accessories organized.
- Shelves: Placing bins on shelves can create a visually appealing display while storing items like linens, toys, or office supplies.
- Under-bed areas: Using storage bins under the bed is a great way to store out-of-season clothes, bedding, or luggage.
By placing storage bins in these spots, I keep my space clutter-free and add a decorative touch.
Creative Display Ideas for Visibility
Displaying my storage bins in creative ways adds to my home’s look and makes them easier to access. Here are some ideas I’ve tried:
| Display Idea | Location | Benefit |
|---|---|---|
| Stacked bins | Living room shelves | Creates a visually appealing display |
| Woven baskets with bins inside | Bedroom closet | Adds texture and hides clutter |
| Color-coded bins | Playroom or office | Makes it easy to identify contents |
These display ideas help my storage bins be both functional and decorative. They add to my home’s overall look.
By using my stylish storage bins in different parts of my home, I’ve made my space more organized and beautiful. Whether it’s through smart placement or creative displays, these bins are a valuable part of my home.
Maintenance and Care for Cardboard Storage Bins
Keeping your cardboard storage bins in good shape is key. With a few simple steps, your DIY bins will stay functional and stylish. This is important for your organization DIY projects.
Tips for Keeping Them in Good Condition
Here are some tips to keep your bins in top shape:
- Regular Dusting: Use a soft cloth or duster to remove dust and debris from the bins.
- Avoid Moisture: Keep the bins away from damp areas to prevent damage to the cardboard.
- Gentle Handling: Handle the bins with care to avoid tears or creases.
- Protective Coating: Apply a clear varnish or sealant to protect the bins from moisture and enhance durability.
When to Consider Upcycling or Replacing
Even with care, your bins might need a refresh or replacement. Here are signs it’s time for a change:
- The bins are damaged beyond repair.
- The bins no longer fit your storage needs.
- You want to update your storage solutions to match a new decor or theme.
Upcycling can give old bins a new life. Replacing them lets you try new designs or materials. By taking care of your bins and knowing when to upcycle or replace, you’ll have effective and stylish storage for your DIY projects.
Conclusion: Enjoying My Stylish Storage Solutions
Looking around my home, I’m thrilled to see my stylish storage bins. They’re made from cardboard boxes and add a creative touch. These solutions not only keep me organized but also make my decor special.
My DIY Experience
Thinking back, making these storage bins was a blast. It was a chance to be creative and make something useful and pretty.
Inspiring Others
I hope my story will encourage others to try DIY projects. Let’s explore ways to make our homes stylish and organized together. Sharing our work can create a community of DIY fans who value creative storage.